These days, it seems that people are looking at Instagram more than anywhere else for their fashion and style. It’s no surprise then that the “Instaqueen” herself -the one and only Kim Kardashian- is hugely influential when it comes to style, and this includes contouring – the latest makeup trend to really take off in recent months.
Thus, women and girls all across the globe (and quite a few men) are doing their best to make their cheekbones pop by contouring their faces. However, as is often the case with makeup, if you overdo it or don’t do it properly the results can be disastrous. The idea with contouring is to accentuate the naturally occurring shades of your skin, not to end up looking blotchy and clown lie. To that end, there are a few things to know when it comes to contouring. Here’s a step-by-step breakdown on how to contour properly:
Step 1 — Materials & Base Foundation
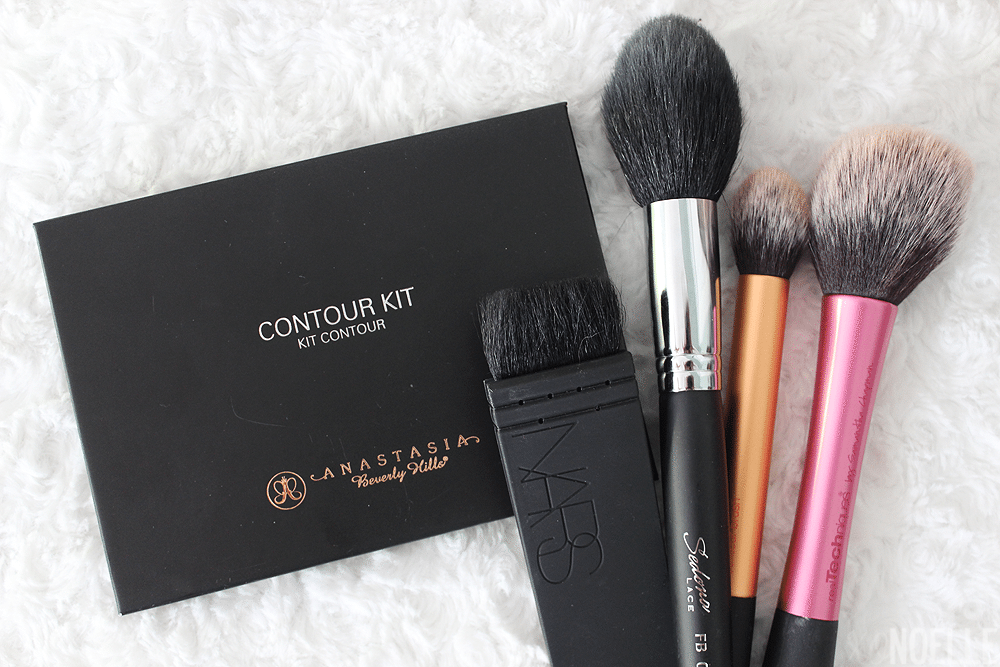
First of all, you need to gather what you need. You’re going to need your base foundation, a beauty sponge, a duster brush, some translucent powder, and two foundation sticks. One of the foundation sticks needs to be two shades lighter than the base foundation, whereas the other foundation stick needs to be two shades darker than the base.
Apply the base foundation as you would normally whenever you do your make-up.
Step 2 — The Darker Regions
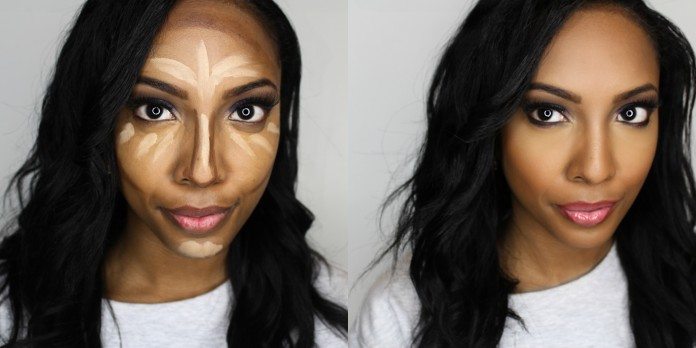
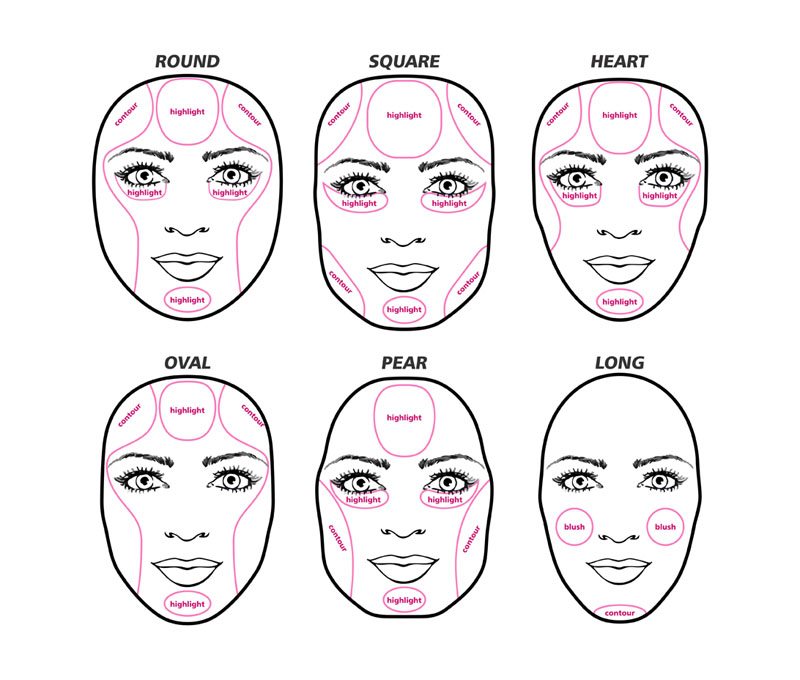
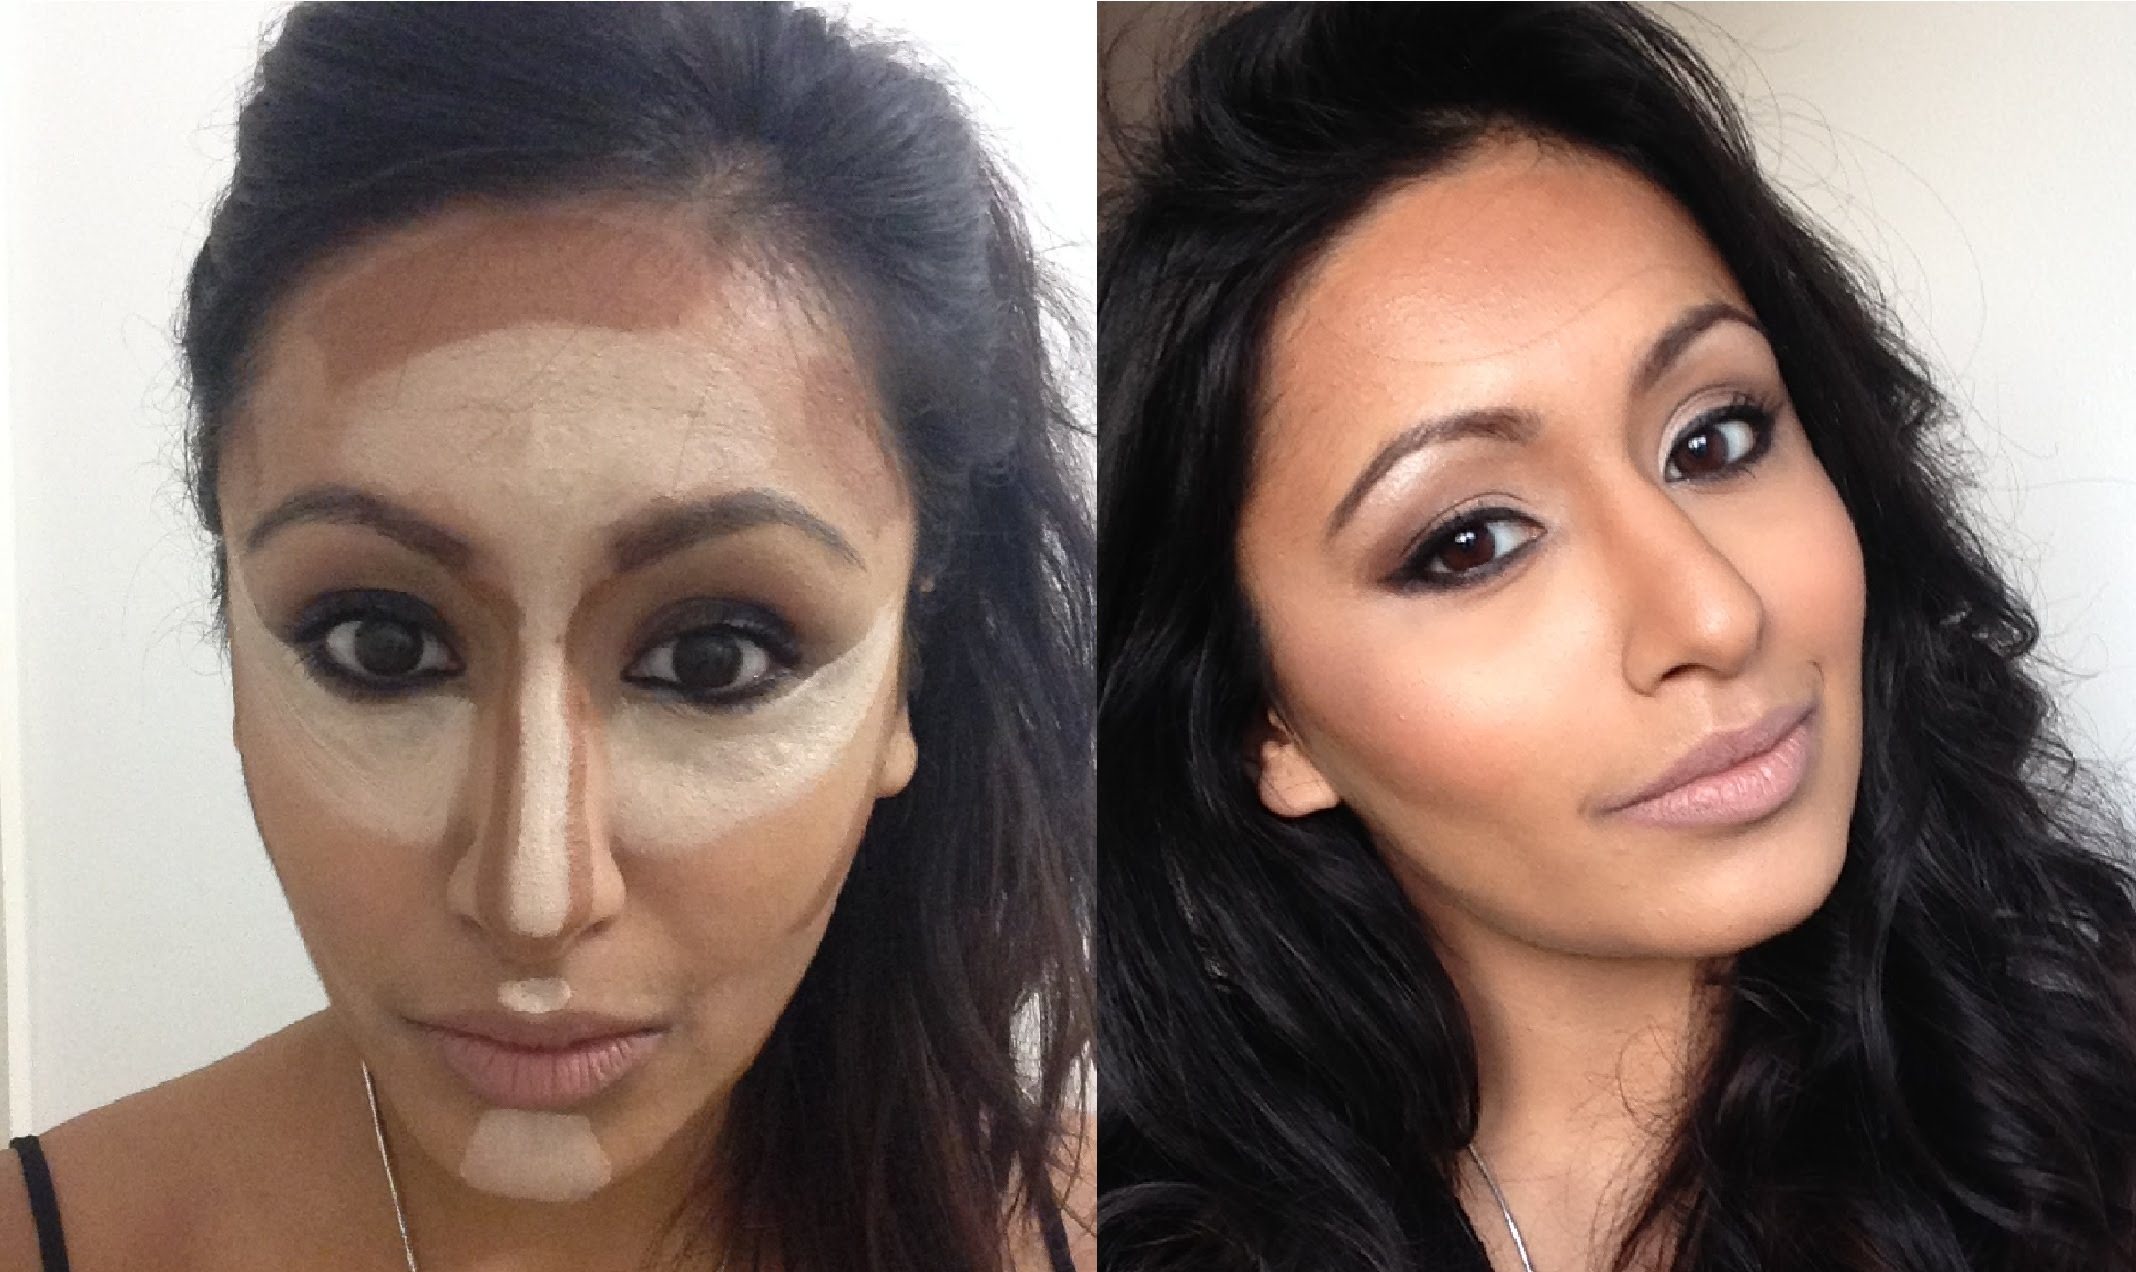
Once you’ve applied the base foundation, you are going to apply the darker of the two foundation sticks. Trace your temples, but make sure to extend the lines all the way to the hairline. You’re also going to want to apply the dark stick to the hollow dip underneath your cheek bones.
After you’ve drawn these lines (and remember—the axiom “less is more” definitely applies to doing makeup) use your beauty sponge, and with small circular motions blend the lines into your foundation.
Step 3 — The Highlights
Next, use your light foundation stick and apply circular shapes in the middle of your forehead, in the area between your cheekbones and eyes, along the ridge of your nose, and in the middle of your chin. Again, take your beauty sponge, and using a clean side, blend the foundation stick into the base with small, circular motions. You do not have to apply too much pressure.
Step 4 — Apply the Powder
In the last step, apply the translucent powder with a duster brush. The translucent powder is the best to keep the cream foundations in place.

